Try taking a look at the two pictures below. They look the same. But click on them to enlarge and see the difference:
The original RAW-file was imported into Lightroom, cropped, converted to monochrome and exposure was adjusted. After that, the ways departed:
The version to the left was exported to JPG directly from Lightroom – without any sharpening applied (both “clarity” and “sharpening” set to zero). JPG quality was 100 – that is: no compression. The picture was downscaled from a width of a little more than 2000 pixels to 500 during export.
The version to the right was exported to Photoshop CS3 as a full size TIFF. In PS it has been downscaled to a width of 500 pixels and a suitable amount of “Smart sharpen” applied. Finally it was converted to JPG with “Save for web” with a quality setting of 70.
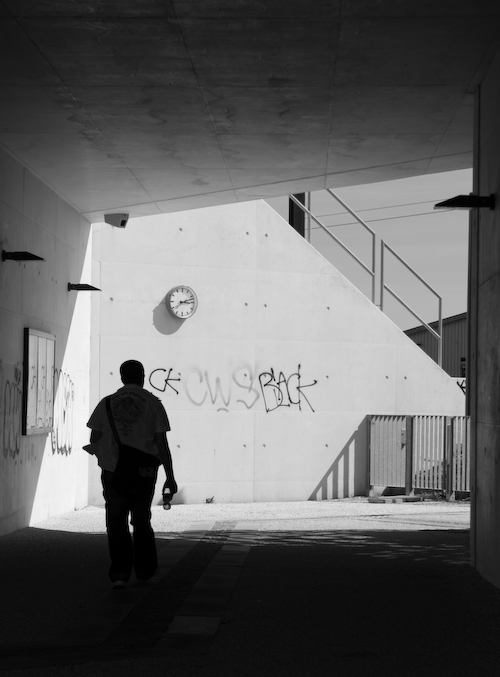
The funny thing is, that when you look at the version to the left, there is a distinct halo around the person in the picture.